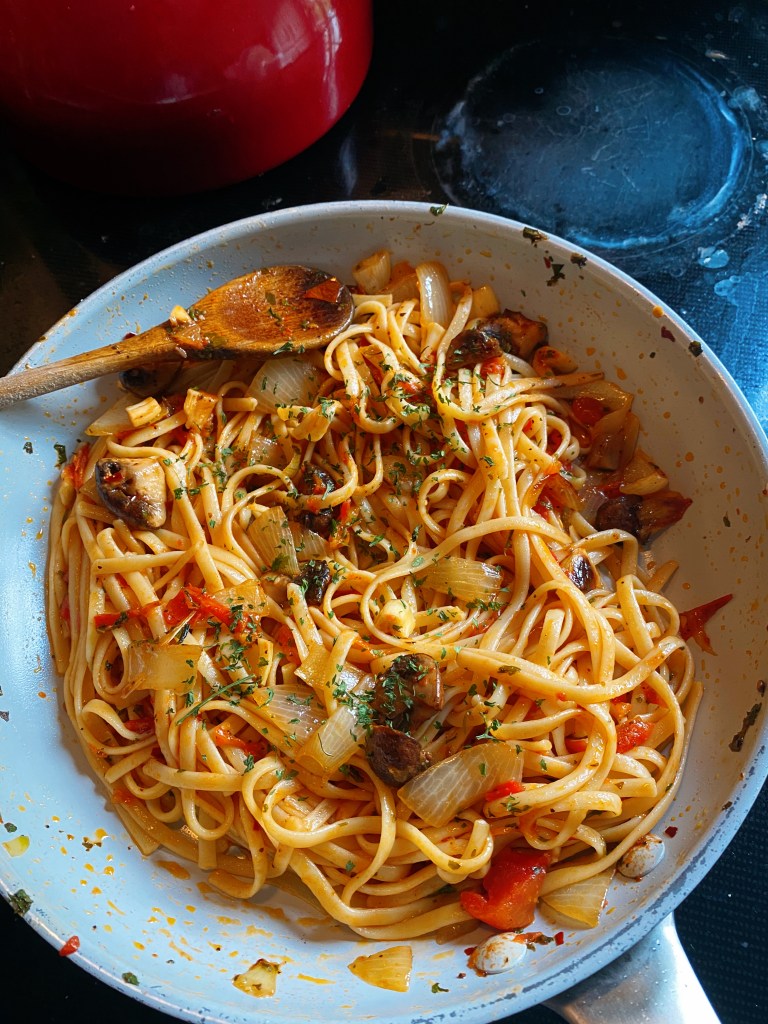
Roasted Veggie Pasta

Guys, this pasta recipe is so yummy, you won’t even miss the meat! This week I am challenging myself to incorporate more veggie meals into my diet. As a lover of meat, this pasta dish makes me realise, we do not need meat with every meal.

The best part of this recipe? I use some simple pantry staples, to put together the best pasta dish. This recipe is flexible so you can add even more veggies, to your hearts content. I kept it basic, but maybe next time I make it (which will be very soon) I will add veggies like sweet peppers or eggplant.

Not only is it simple, but it is so easy to make! The secret to this recipe, is definitely roasting your veggies in the oven to add to the pan, who knew something as simple as an oven could give so much flavor?!? This took me under a half hour, a perfect mid week meal. Get ready to add this veggie pasta to your weekly meal line up because it is that good (seriously). Onto the recipe.

Recipe

Servings:4

Prep time: 5 minutes

Cook time: 20 minutes

Total time: 25 minutes
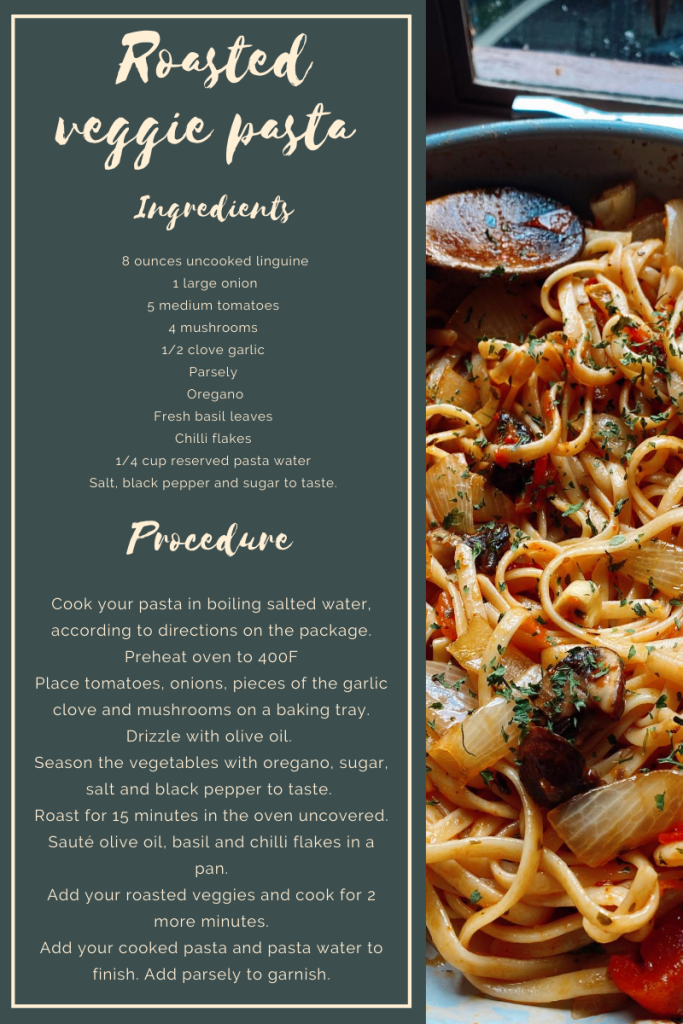
Ingredients

8 ounces uncooked linguine
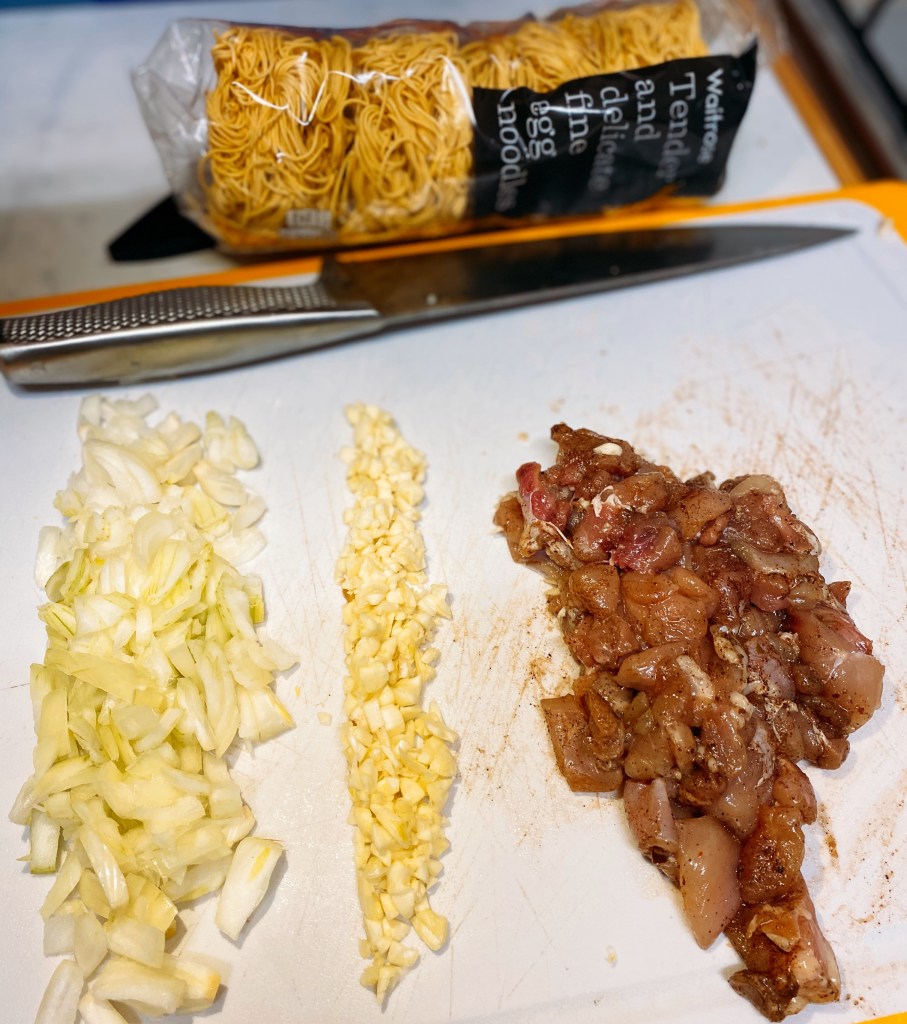
1 large onion

5 medium tomatoes

4 mushrooms

1/2 clove garlic

Parsely

Oregano

Fresh basil leaves (about 4 medium sized leaves)

Chilli flakes

1/4 cup reserved pasta water

Salt, black pepper and sugar to taste

Procedure

Cook your pasta in boiling salted water, according to directions on the package.

Preheat oven to 400F.

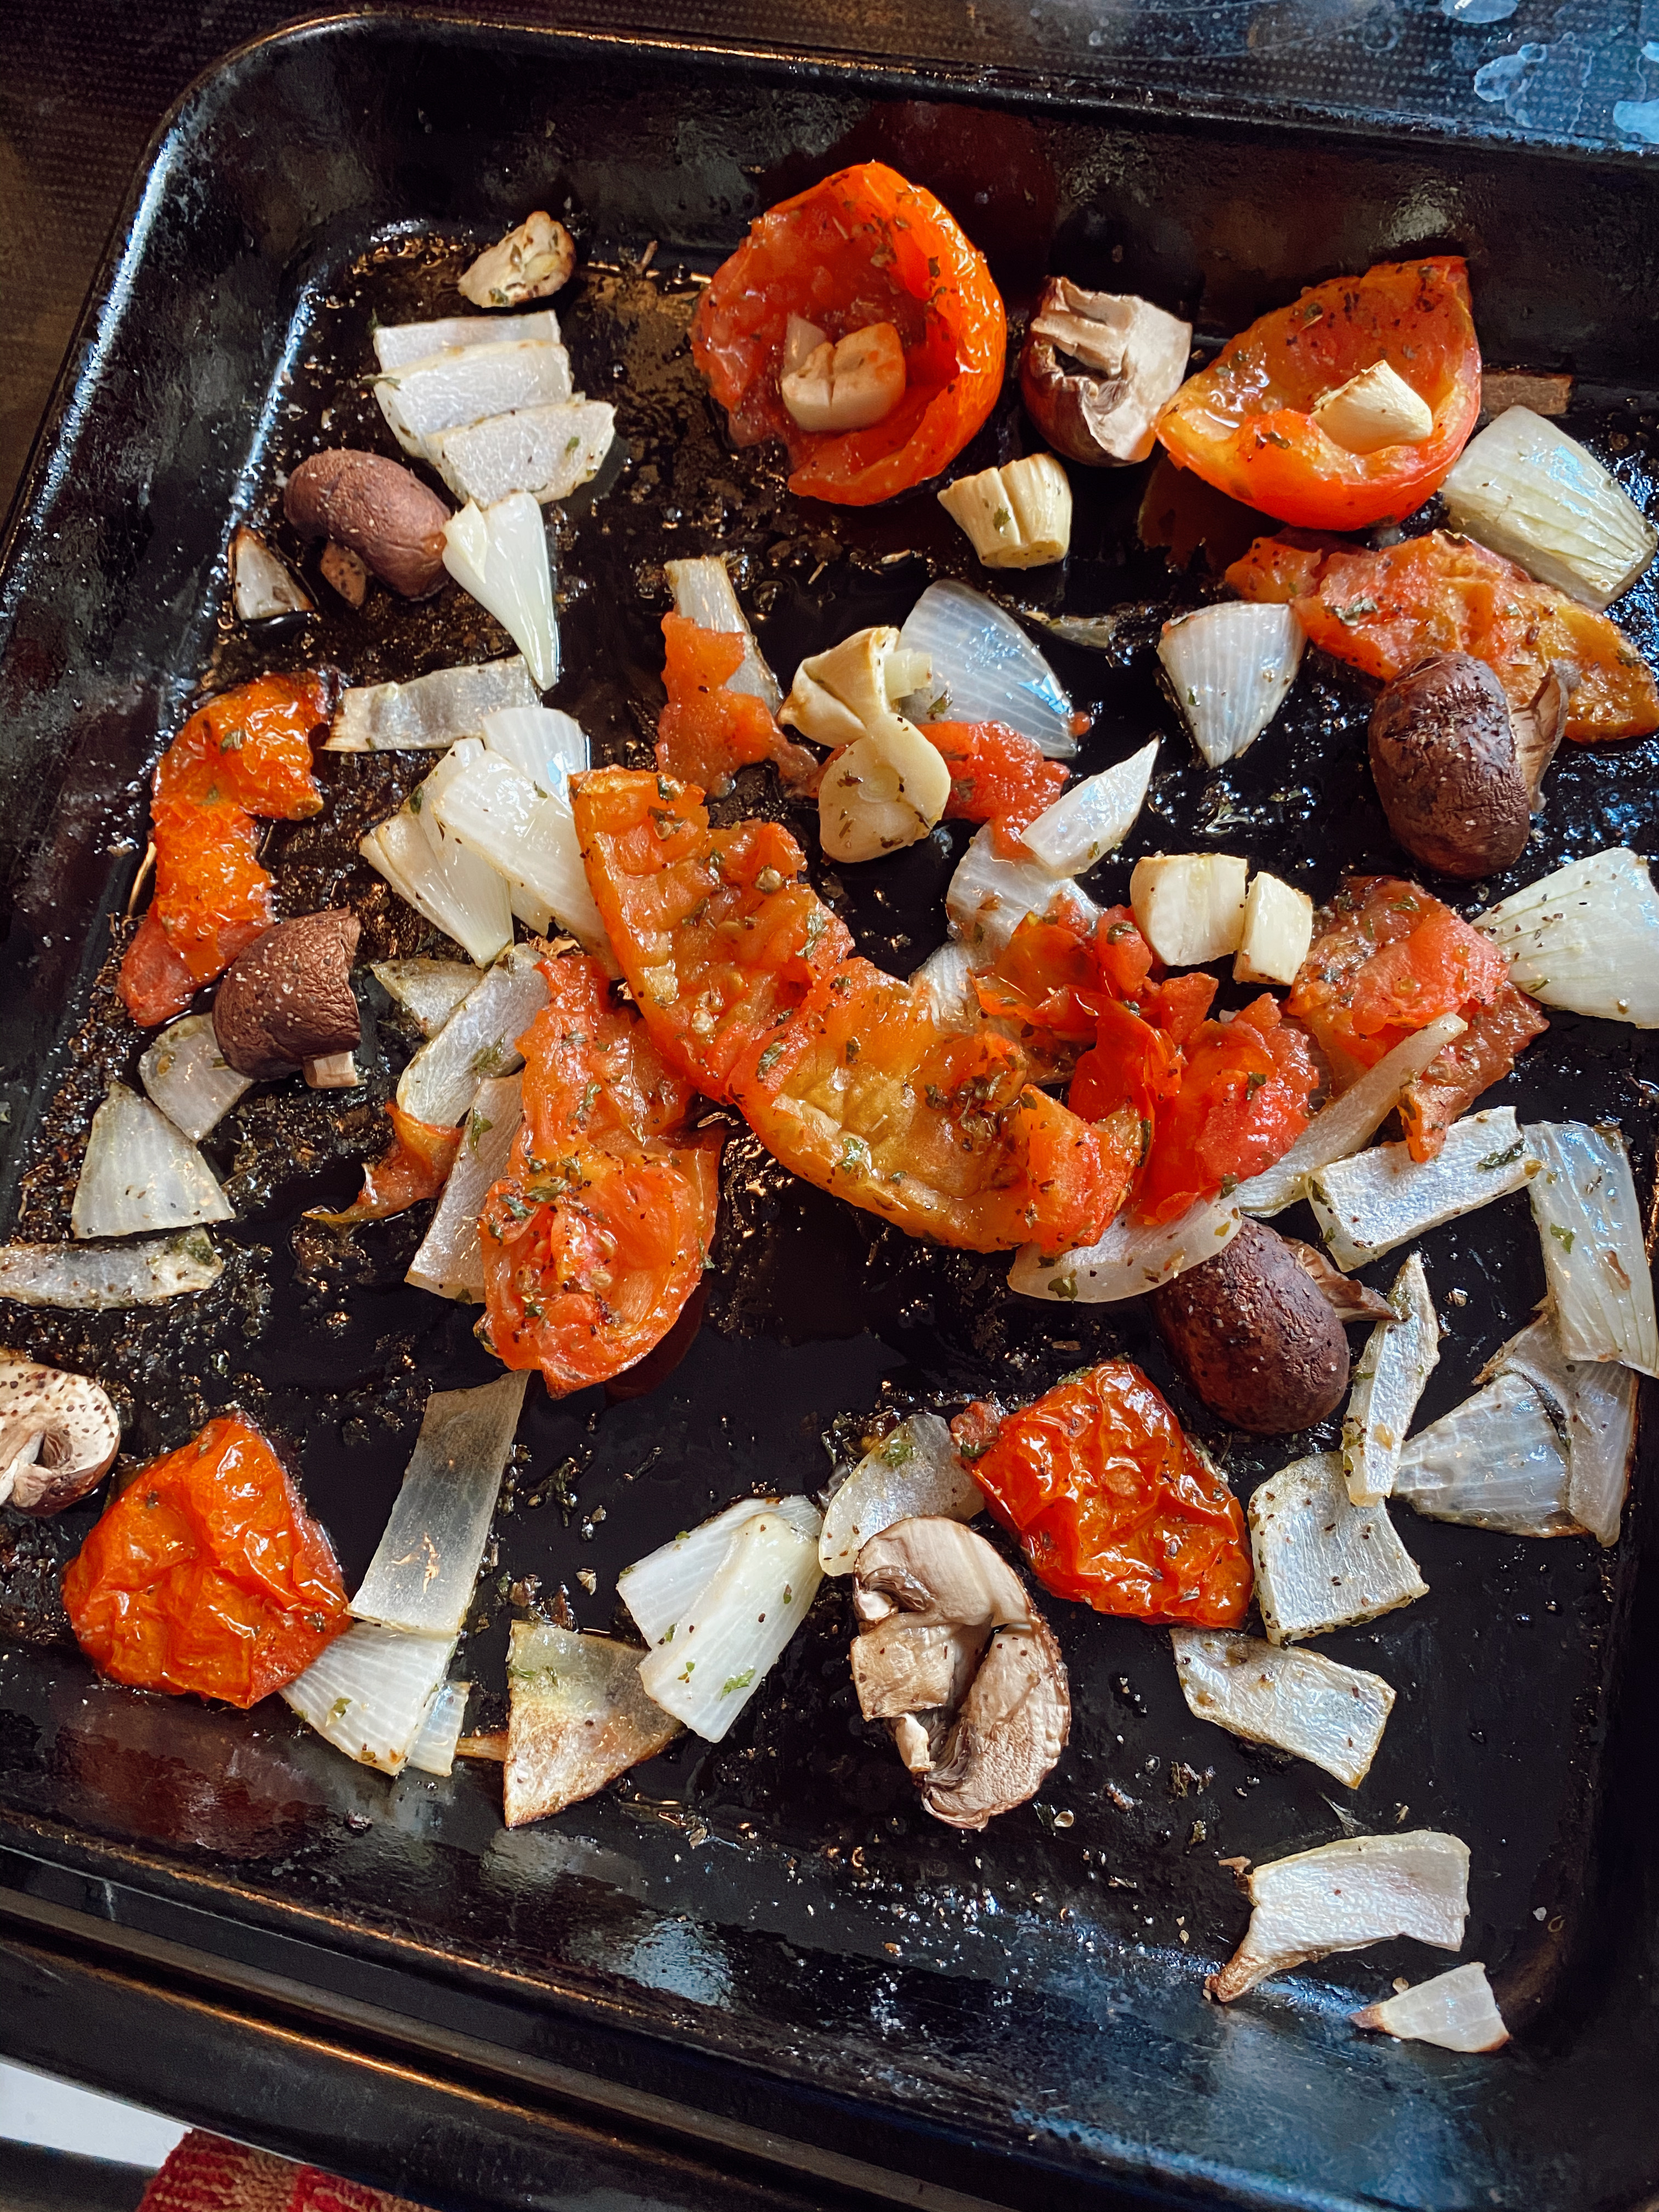
Place tomatoes, onions, pieces of the garlic cloves and mushrooms on a baking tray.

Drizzle with olive oil.

Season the vegetables with oregano, sugar, salt and black pepper to taste.

Roast for 15 minutes in the oven uncovered.

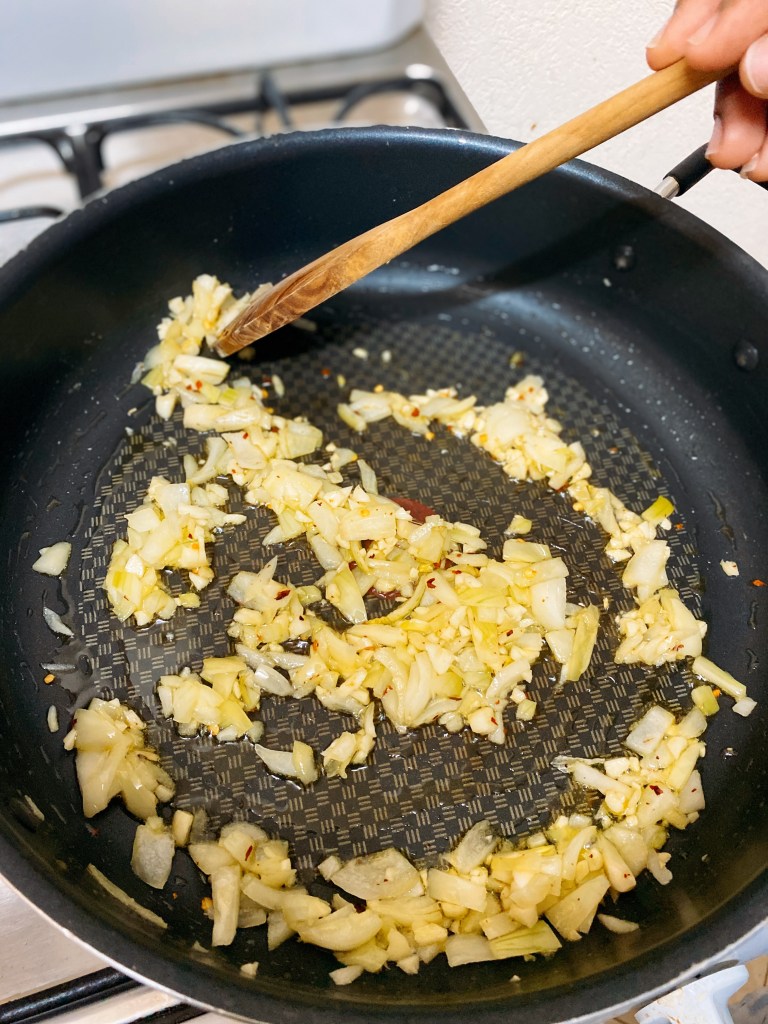
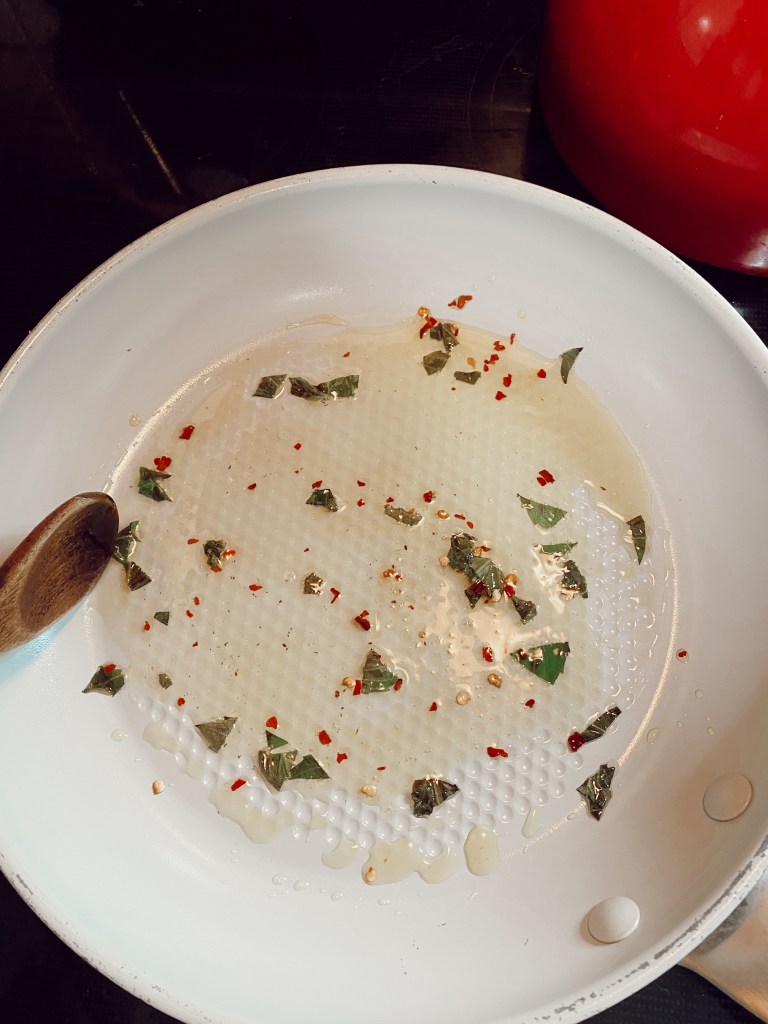
Sauté olive oil, basil leaves and chilli flakes in a pan.

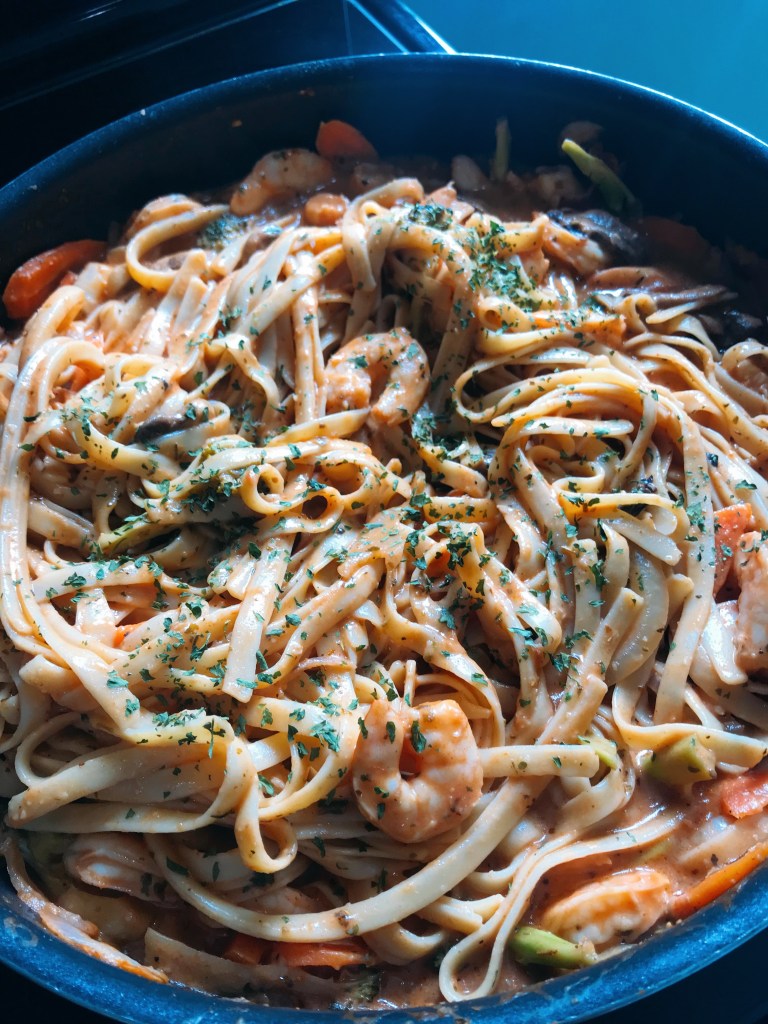
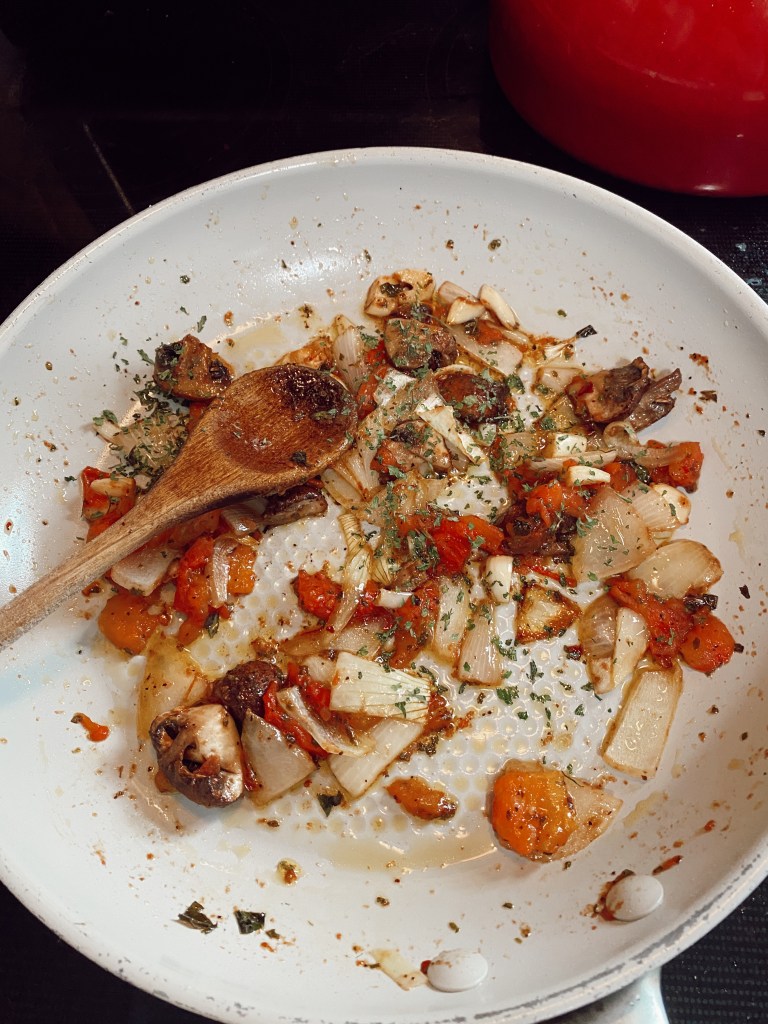
Add your roasted veggies from the oven and cook for 2 more minutes

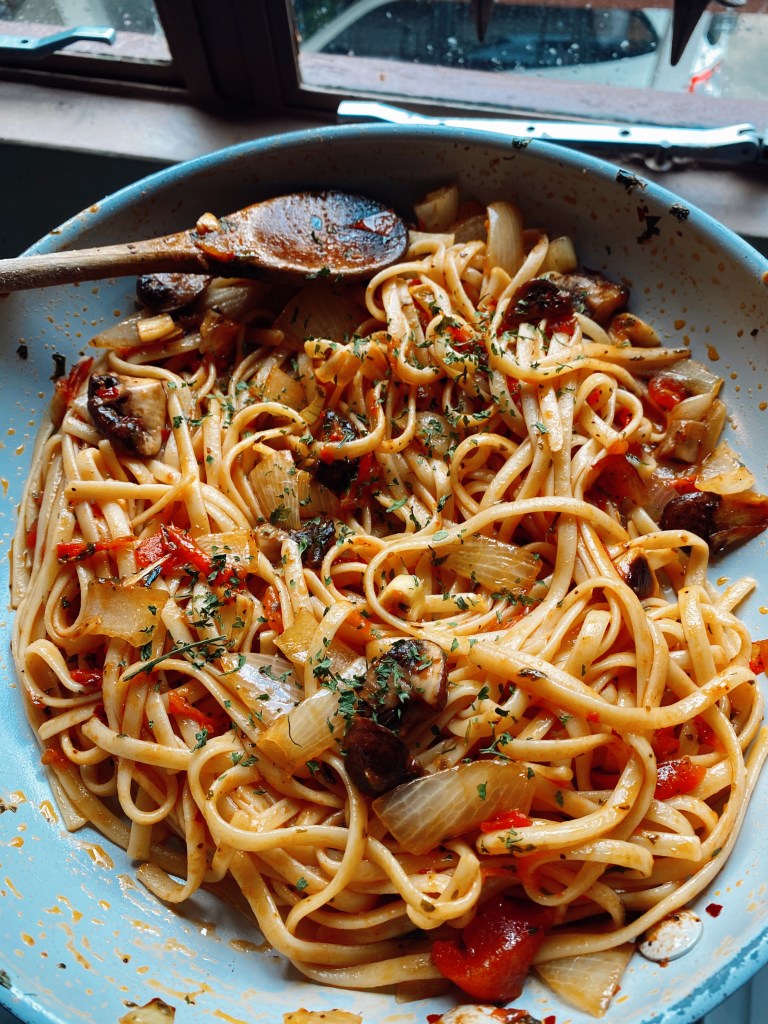
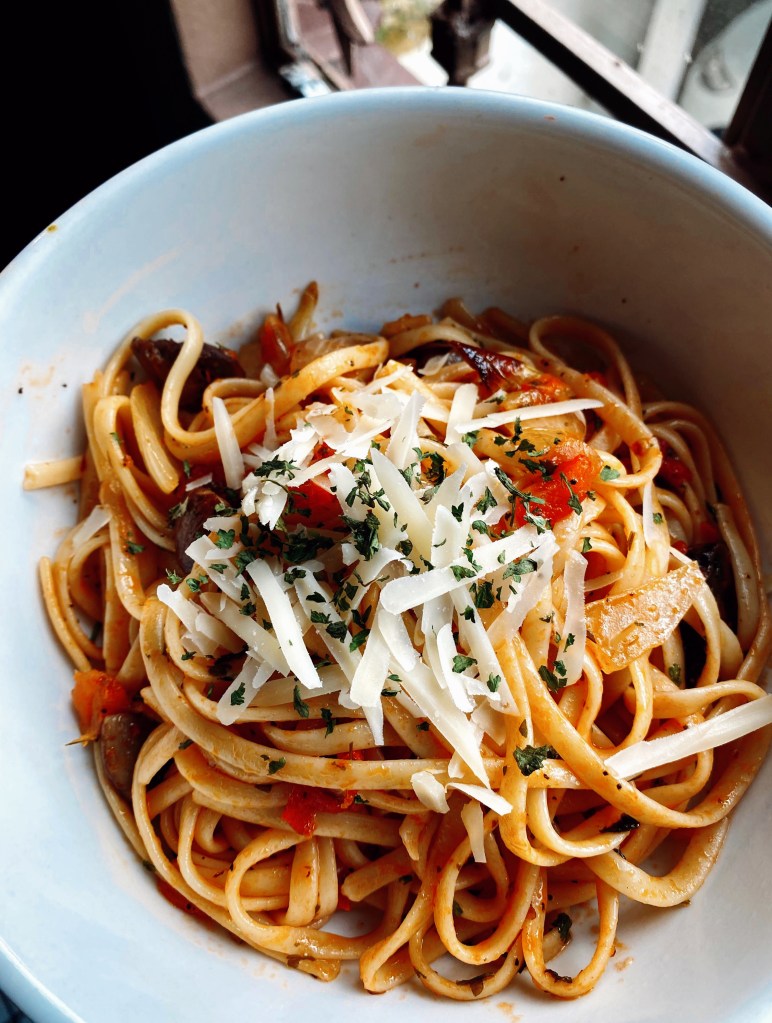
Add your cooked pasta and reserved pasta water to finish. Add parsley to garnish.

Recipe Notes

Here are some additional notes on this recipe:

You do not have to use fresh basil leaves, I just think they have a bit more flavour than dried basil. But I am lucky to have a basil plant, if you do not have one dried works as well.

You do not have to use linguine, this can work with any pasta!

Remember to add any veggies you love, I kept this recipe as simple as possible.

If you like it a little spicier, you can add more chilli flakes I usually add a teaspoon of chilli flakes.

The use of sugar in this recipe may seem a bit weird, but it helps to cut the acidity in the tomatoes and can even help brown your veggies in the oven. Dual use!

I usually finish this with parsley, and sometimes a bit of parmigiano-reggiano. You can use any cheese, if you are feeling cheesy.

Also if your pasta is not as saucy as you would like, you can add a splash of marinara sauce to achieve saucy pasta. But just a splash!

Recipe card:

You can check this post out on my instagram!

← Back

Thank you for your response. ✨

Please rate our website(required)

Yeast Bread-Artisan, no Knead

This recipe is inspired by Recipe Tin Eats (another amazing food blog). This bread recipe is by far the easiest recipe for bread you will ever find. The texture is similar to sourdough bread, with a thick crispy crust and a fluffy middle. Guys! I love warm bread straight out of the oven so this recipe is a dream for me because I hate spending a long time in the kitchen (funny right!). In total it takes about 5 minutes of minimal effort to make this dough. It does not need a stand mixer or kneading and it is a highly flexible dough to work with. This heavenly bread can even be ready to eat in just under 3 hours. I love making bread and this is going to be my new to go recipe it is just simply a dream. If anyone loves warm bread (I think everyone loves warm bread) straight out of the oven, this is the recipe for you. It is perfectly golden with a crispy crust and soft in the middle. The perfect companion for butter, this is going to change your life!

For tips and tricks to really make this bread phenomenal, you can see my recipe notes a little further down. I am even going to include a recipe card so you can easily make this bread any time you want. Get ready to always have freshly baked bread in your home ANYTIME!!

This recipe will give you 12 slices of bread and feeds around 10 people. The slices are large though, so it can be easily cut into halves to give you 24 slices of warm delicious bread.

Recipe (12 slices of bread)

Ingredients:

3 cups flour (can either be bread, plain or all purpose flour)

2 tsp instant yeast

2 tsp salt

1.5 cups very warm tap water- NOT BOILING

Procedure:

Mix flour, yeast and salt into a bowl. Add water and then mix with a spoon or spatula until all the flour is incorporated.

Cover with cling wrap and leave on counter (in a warm place) for 2-3 hours until it doubles in volume.

Put a tray into the oven and preheat the oven to 450F/230C.

Sprinkle work space with 1tbsp flour. Scrape dough out of the bowl with a spatula. Sprinkle the top of the bread with 1/2 tbsp flour.

Using a spatula, fold the sides inwards to roughly form a roundish shape.

Slide a piece of parchment paper next to the dough, then flip the dough upside down onto the paper.

Place paper with shaped dough onto a baking tray, then boil a kettle.

Pour boiling water into the previously preheated tray in the oven and then quickly place the baking tray with the bread next to the tray with the water, side by side in the oven (the tray with water can also be placed underneath the baking tray if there is no room side by side)

Bake the bread for 40 minutes, until it is a deep golden brown.

You can save this recipe card easily to your camera roll!
Look at what this yummy bread’s before and after! It’s gorgeous

Recipe Notes:

Do you want to take your bread up a notch? I have a couple tips:

For the last 10 minutes my bread was in the oven, I made a yummy garlic butter and brushed it on top of the bread. I highly recommend this step, it takes the bread up a level.

Placing a tray with boiling water in the oven with the bread will create a makeshift steamer effect. This steamy effect will give the bread a rise boost before the crust sets.

The consistency of the dough is meant to be sticky. It is not suppose to be kneadable!

After the 2/3 hours of the dough resting, the surface of the dough will be wobbly like jelly. That’s when you know your dough is ready to go in the oven.

Lastly, this dough can also be refrigerated overnight for even tastier bread the next day! But, if you are like me and cannot wait that long it will be just as perfect baking it immediately after it proofs.

When you master this simple bread recipe, you can start adding ingredients to the dough like basil, oregano or even cheese. This recipe is flexible and easy!

Go out and make some bread!!

← Back

Thank you for your response. ✨

Please rate our website(required)

Peri Peri Chicken

I fell in love with Nando’s peri peri chicken and wanted to make it at home in the Caribbean where there is no Nando’s. This marinade combines simple ingredients to make a flavourful marinade for chicken that taste similar to Nando’s so you can have it anytime too! I recommend using chicken thighs for this recipe to get the juciest,crispiest chicken rather than chicken breast. I used an oven to bake my chicken but I reccomend using a BBQ pit if you have one readily available. I served mine with rice and beans but you can use any sides that you love, this chicken is so versatile and always delicious. At the end of the recipe there is a recipe card to save to your devices to make it easily at home.

PERI PERI CHICKEN

Servings: 4

Prep time: 15 minutes to make the marinade and overnight to allow chicken to marinate

Cook time: 20 minutes

Total time: 35 minutes

INGREDIENTS

1 head garlic

1 whole onion

2 large red bell peppers

1 lemon

4 tablespoons olive oil

2 teaspoons paprika

2 teaspoons tex-mex seasoning

1 teaspoon cilantro

Pinch of sugar

Salt and Black pepper to taste

Optional: Add 1 or 2 chilli peppers to make it spicier

1 pound boneless and skinless chicken thighs (approximately 4 thighs)

DIRECTIONS

  1. Put all your ingredients into a blender except the chicken and combine them to make the marinade.

2.Add the marinade to a Ziploc bag with the chicken thighs. Allow your chicken to marinate overnight.

3.Remove your chicken thighs from the Ziploc bag and place them on a baking tray, pour the excess marinade from the Ziploc bag over the chicken.

4.Bake the chicken thighs at 400F for 20 minutes.

5. After the 20 minutes, broil the chicken thighs for 2 minutes until crispy

6. Allow to rest and then serve immediately with your favourite sides

Finished Peri Peri chicken

RECIPE CARD

Cuban-Style Roast Pork

This Cuban mojo-marinated roasted pork has an intense garlicky, citrusy, porky flavour. It’s guaranteed to be melt-in-your-mouth tender and it’s easy to make in only 2 steps. When I make this recipe, I use a cut of pork that has a high fat content, I reccomend using a Pork Butt/Boston Butt either bone in or boneless to achieve the juciest pork possible. I’m highly against using lean cuts of pork like Pork Tenderloin because nobody wants a dry roasted pork. This pork can be served with anything you like but for me the best thing to have it with is homemade black beans and my mexican rice (recipe to come) and plantain or roasted sweet peppers. Make this roasted pork for your weekly night dinner and it will be a hit! It’s versatile and the leftovers can be used for just about anything (even sandwiches!)

CUBAN-STYLE ROASTED PORK RECIPE

Serves: 6-10

Prep time- 30 minutes to make mojo and overnight for pork to marinade

Cook Time- 4 hours

You can save this recipe to your phone/computer by clicking on it.
This should be your yummy end result
Serve with your favourite sides!

Korean Night

Have you seen this popular Korean Dish all over Instagram? Tonight we’re making Jajangmyeon (Black Bean Noodles). This dish might look intimidating at first but it’s pretty simple to make it at home, even if you’re not near Korea. Side note for this recipe, I did not have some of the traditional ingredients like potatoes, daikon, zucchini or pork but substitutes can work just as fine! Remember a recipe can always be customized to your liking . And now without further ado, let’s start.

I garnished mine with cabbage

I got my Black Bean paste from my aunt in Canada. You can get yours in any Korean grocery or even on Amazon

Also, this dish typically uses pork as mentioned but you can substitute it for any meat you prefer. I used chicken. You can use any noodles you like as well, because they all work with this yummy dish.

Korean Black Bean Noodles (Jajangmyeon)

Servings:4

Prep time: 20 minutes

Cook Time: 30 minutes

Total Time: 50 minutes

INGREDIENTS

3 tablespoons vegetable oil

1/2 pound chicken cut into small pieces (I used thighs)

2 small onions (diced)

1 medium-sized clove of garlic (minced)

1/2 cup chunjang (Korean black bean paste)

3 cups water

12-14 ounces noodles

1 teaspoon sesame oil

1 cup sugar (any kind can be used. I used white sugar. This is to cut the bitterness that the black bean paste might have)

Corn starch slurry (2 cups of corn starch combined with one cup of water)

1 teaspoon chilli flakes

1 teaspoon five spice powder

Salt and white pepper to taste

INSTRUCTIONS

  1. Heat one tablespoon of vegetable oil in a pan over high heat. Add the onions, garlic and chilli flakes to the pan and stir-fry for 3-5 minutes.

2. Add the chicken thighs to the pan and stir-fry for another 5 minutes over high heat.

3. Clear a space in the center of the pan and add the 2 remaining tablespoons of oil. Add the Korean black bean paste and let it fry in the center of the pan for one minute. Now, stir everything together.

3. Add 3 cups of water and let the sauce come to a boil. Turn your heat down and let your sauce simmer for 15 minutes

4. Cook your noodles of choice according to the directions on the package while your sauce is simmering.

5. After the sauce has simmered for 15 minutes, add the starch slurry to the pan and stir until it is thick and glossy.

6. Add the 1 cup sugar, 1 teaspoon five spice powder and salt and white pepper to taste. Stir your sauce again. Finish the sauce off with the 1 teaspoon sesame oil.

7. Serve the sauce with the noodles and garnish with toppings of your choice. (I used cabbage and traditionally cucumber is used)

Homemade Italian

This shrimp pasta is made with fettucine in a homemade creamy Rosé sauce and taste just like you ordered it from a restaurant! This is one of my favourite dishes to eat on weekly basis and this recipe is a must try for all my fellow pasta lovers.

Shrimp Fettucine in a  Rosé Sauce

Servings: 4

Prep Time: 10 minutes

Cook time: 20 minutes

Total time: 30 minutes

INGREDIENTS

2 cups Fettuccine Pasta (or any pasta of your choice)

3 tablespoon butter

1 cup heavy cream

3/4 cup of grated parmesan

1 teaspoon of mince garlic

1 whole onion (small)

1/2 teaspoon garlic powder

A dash of chilli flakes

2 tablespoons of chopped parsley

1 pound of shrimp peeled and deveined

1/2 cup tomato paste

Salt and pepper to taste

INSTRUCTIONS

  1. Cook your pasta in salted water (your water should taste like the sea) according to directions on the package
  2. Melt 2 tablespoons of butter with the garlic and the onion in a saucepan over medium- low heat
  3. Add the cream and the tomato paste and stir the cream, tomato paste and butter together
  4. Allow to simmer for 4-5 minutes or until it becomes thickened- Do not allow it to come to a boil
  5. Whisk grated parmesan into the saucepan until cheese has melted and the mixture is smooth
  6. Season your sauce with the salt, pepper, chilli flakes and garlic powder
  7. In a seperate large saucepan, heat 1 tablespoon of butter over medium high heat
  8. Add to the shrimp to the pan and season with salt and pepper
  9. Cook for the shrimp for 3-4 minutes, stirring occasionally, until shrimp are pink (be careful to not overcook it)
  10. Drain the pasta and toss with the rosé sauce. Arrange the shrimp on top and garnish with parsley to finish, then serve.

Recipe Notes

You can also add any veggies you like to this recipe. I added broccoli and carrots the last time I made this

Be careful to not overcook your shrimp and ensure your pasta is al dente

Design a site like this with WordPress.com
Get started